Upper wing
Rnd 1. 6 ms in MR ( 6 )
Rnd 2. ( 1ms, augm ) * 3 ( 9 )
Rnd 3. ( 2ms, augm ) * 3 ( 12 )
Rnd 4. 4ms, 3augm, 5ms ( 15 )
Rnd 5. ms around ( 15 )
Rnd 6. 4ms, ( 1ms, augm ) * 3, 5ms ( 18 )
Rnd 7. ms around ( 18 )
Rnd 8. 4ms, ( 2ms, augm ) * 3, 5ms ( 21 )
Rnd 9. 4ms, ( 3ms, augm ) * 3, 5ms ( 24 )
Rnd 10. 11ms, 2augm, 11ms ( 26 )
Rnd 11. ms around ( 26 )
Rnd 12. 13ms, augm, 12ms ( 27 )
Rnd 13. 6 ms, mc 1, 1ms, 4dB, 2br-augm, 4dB, 1ms, 1mc, 7ms ( 29 )
Rnd 14. dim, 4ms, 1mc, 1ms, 4dB, 4br-augm, 4dB, 1ms, 1mc, 5ms, 1dim ( 31 )
Rnd 15. dim, 3ms, 1mc, 1ms, 4dB, 8br, 4dB, 1ms, 1mc, 4ms, 1dim ( 29 )
No need to fill.
Fold the wing in half and just sew the outer loops of each chain, leaving a long tail to sew the wing to the body.
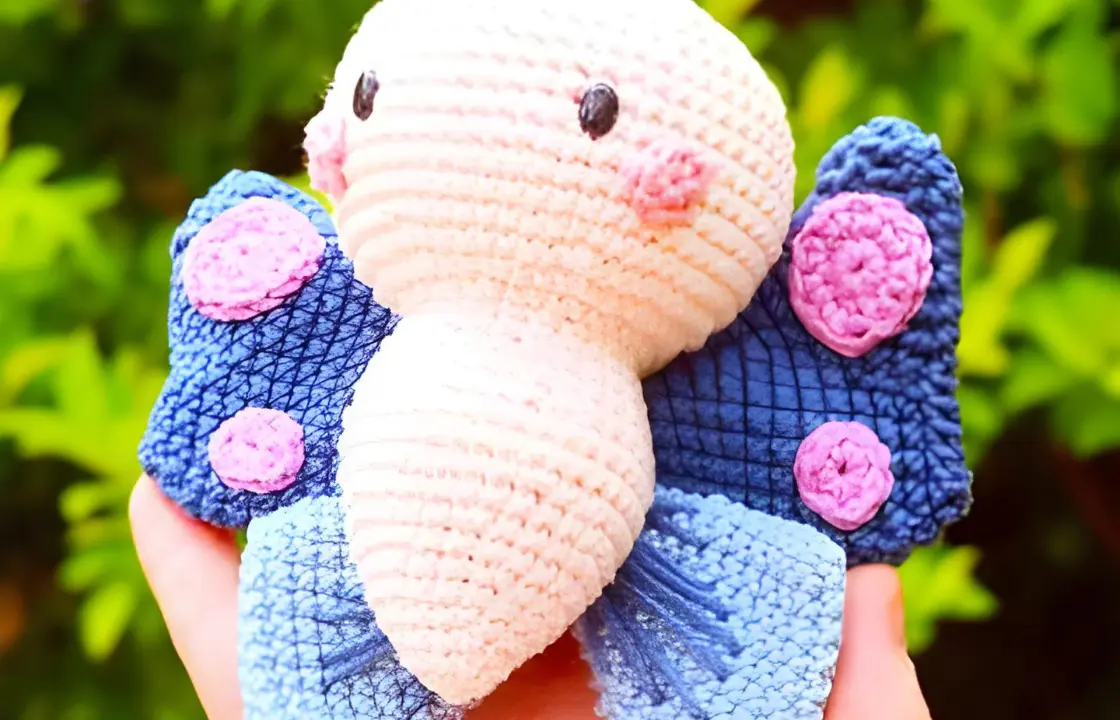
Try to meet the 4 wings in the center of the back. Looking at the front butterfly, be sure to ride the bottom wing and add a few points to join the top wing junction with the bottom wing, ensuring that the finish is invisible.
Use your imagination to decorate. I made two circles of different sizes. Remember to repeat the same mirror pattern on the other side.
Antennas
( Bee and butterfly )
Channel 9, skip 2 chains, 1 br, in this same chain, add 1 dB and 1 ms, continue on the other chains: mc 6. Sew it on the head, using the center of the eyes as a reference ( safety eyes or embroidered ) .
Play
6 ms in the magic circle, 1 mc to close. Leave a tail for sewing.
Assembly
Sew the cheeks close to the eyes. Sew the wings and the anteannae following the photos and the corresponding bosses.
Use a thinner thread to embroider your eyes, it will make the job more delicate.
Enjoy!

What is the English version of this pattern? Please
it’s english version !!