
Difficulty level: Medium
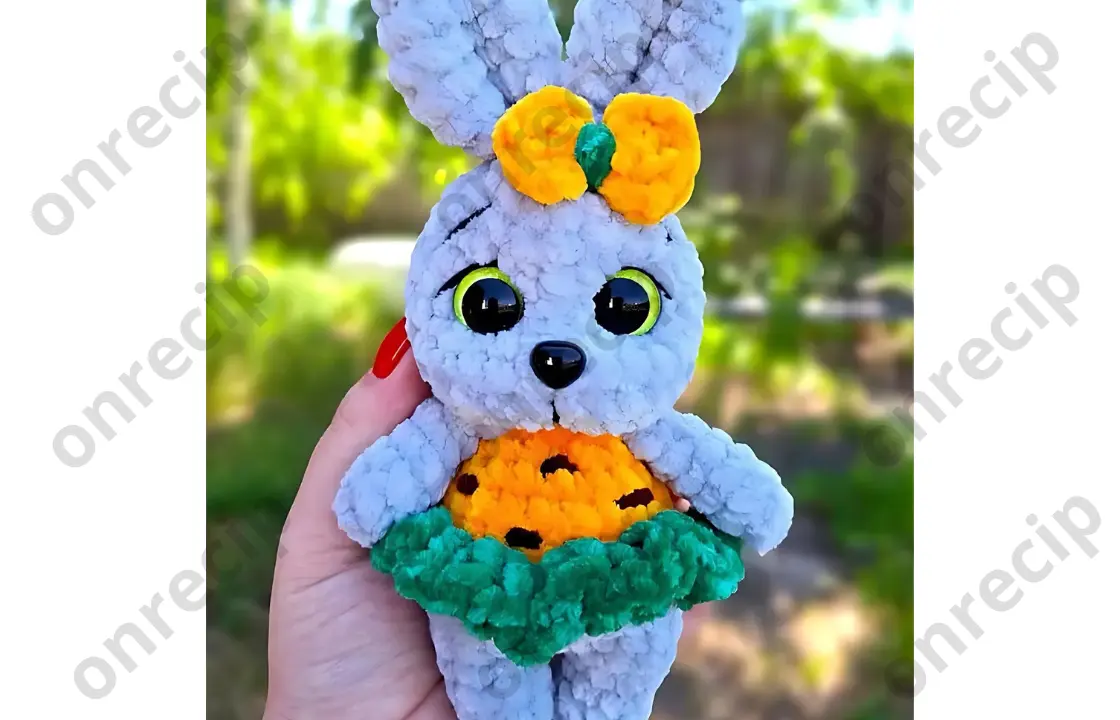
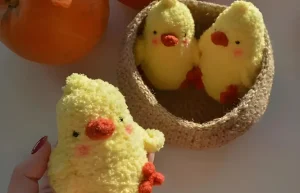
With this pattern, you can crochet a plush bunny in a carrot dress using any plush yarn. The author recommends Himalaya Dolphin Baby. You will need approximately 1/3 of a skein for one toy. You can style the bunny’s dress to look like a carrot or keep it neutral and monochromatic. For the face, you will need safety eyes and a safety nose. When assembling the bunny, remember to shape the head with thread.
Materials and Tools:
- Plush yarn Himalaya Dolphin Baby (1/3 skein for one toy)
- Cotton-blend yarn YarnArt Jeans (for the face details)
- 4mm crochet hook
- 16mm safety eyes
- 11mm safety nose
- Stuffing for toys
- Stitch markers
- Pins
- Strong thread for shaping the face
- Needle for sewing parts
- Scissors
Abbreviations:
- KA – magic ring
- sl st – slip stitch
- ch – chain
- sc – single crochet
- hdc – half double crochet
- inc – increase
- dec – decrease
- (…) x n – repeat the instructions in parentheses n times
Bunny in Carrot Dress Crochet Instructions
Ears (make 2 pieces):
To make the ears light and fluffy, use a larger hook (I used 6mm).
- 6 sc in KA (6)
- 6 sc (6)
- (1 sc, inc) x 3 (9)
- (2 sc, inc) x 3 (12)
- (3 sc, inc) x 3 (15)
6-7. 15 sc (15) (2 rounds) - (3 sc, dec) x 3 (12)
Fold the piece in half and crochet together with 6 sc, then fold again and crochet together with 3 sc. Fasten off, leaving a tail for sewing.
Make the second ear similarly.
Upper Paws (make 2 pieces):
These parts will not be stuffed.
- 6 sc in KA (6)
2-6. 6 sc (5 rounds)
Fold in half and crochet together with 3 sc. Fasten off and secure.
Make the second paw in the same way.
Lower Paws (make 2 pieces):
Stuff the part firmly as you crochet.
- 7 sc in KA (6)
2-4. 7 sc (3 rounds) (7) - 3 sc, inc, 3 sc (8)
Fasten off and secure the yarn.
Crochet the second leg in the same way, but do not cut the yarn after finishing. Chain 3 and join to the second leg.
Body:
- 8 sc along the left leg, 1 sc along the chain, inc, 1 sc along the chain, 8 sc along the right leg, 1 sc along the chain, inc, 1 sc along the chain (24)
Place a stitch marker at the back.
7-10. 24 sc (4 rounds) (24) — If you’re making a girl bunny in a dress or a boy bunny in a shirt, change the yarn to a contrasting color at the last stitch of Round 8.
- (4 sc, dec) x 4 (20)
- (3 sc, dec) x 4 (16)
- (2 sc, dec) x 4 (12)
In the next round, attach the arms. Check for symmetry with the legs, adjusting with chain stitches if necessary. Mine turned out as follows:
- 2 sc, 3 sc together with the arm, 3 sc, 3 sc together with the other arm, 1 sc (12)
- 12 sc (12) — If you’re crocheting a toy in clothes, change the yarn back to the main color at the last stitch of this round.
Head:
- (inc) x 12 (24)
- (5 sc, inc) x 4 (28)
18-22. 28 sc (28) (5 rounds) - (2 sc, dec) x 7 (21)
- 21 sc (21)
Insert the safety eyes between Rounds 22 and 23 with a gap of 4 sc between them. Before securing the eyes, make sure they are positioned symmetrically. If needed, adjust the placement. Attach or glue the nose in the center between Rounds 19 and 20.
Stuff the head firmly, especially around the neck area to prevent it from wobbling. Distribute the stuffing evenly from the center to the edges.
- (1 sc, dec) x 7 (14)
- 14 sc (14)
- 7 dec — Close the loops, fasten off and secure the yarn.
Shaping and Embellishing the Face:
For shaping the face, use a strong white thread and a long needle.
Insert the needle between Rounds 16 and 17, symmetrically near the inner edge of the right eye, and pull the needle out near the outer edge of the right eye. Insert the needle again near the inner edge of the right eye and pull it out below, leaving a gap of 2 sc from the insertion point.
Repeat the process with the left eye. Shape the eyes accordingly.
Embroider eyebrows, lashes, and a small line under the nose.
Sewing the Ears:
Attach the ears symmetrically on the head at the magic ring’s closing point.
If making a girl bunny in a dress, join a contrasting yarn at Round 9 and crochet 3 hdc between each stitch. Join the round with a sl st, fasten off and secure the yarn.
Author: Olga Vologzhanina @olga_tous_ugorsk1 / translated by onrecip
Your crochet bunny is ready! Please tag the author on social media @olga_tous_ugorsk1.
Enjoy!