
- 6 sc in a magic ring
- inc x 6 = 12 sc
3 – 14 rows (12 rows) 12 sc - dec x 6
Tighten the loops; on one arm, cut the yarn and hide the end inside the piece, on the other, leave a long tail for sewing.
Ears (2 pieces)
- 6 sc in a magic ring
- inc x 6 = 12 sc
- 12 sc
- (sc, dec) x 4 = 8 sc
Leave a long tail for sewing.
Muzzle
- 6 sc in a magic ring
- inc x 6 = 12 sc
- 12 sc
- 12 sc
Leave a long tail for sewing.
Legs (2 pieces)
Chain 6. Start crocheting from the 2nd chain from the hook.
- 4 sc, 3 sc in 1 stitch, 3 sc, inc = 12 sc
- inc, 3 sc, 3 inc in a row, 3 sc, 2 inc in a row = 18 sc
- inc, sc, inc, 4 sc, inc, sc, inc, sc, inc, 4 sc, inc, sc = 24 sc
4 – 6 rows 24 sc - 6 sc, 6 dec in a row, 6 sc = 18 sc
- 18 sc
- 6 sc, 3 dec in a row, 6 sc = 15 sc
10 – 17 rows (8 rows) 15 sc - (3 sc, dec) x 3 = 12 sc
- dec x 6
Tighten the loops; on one leg, cut the yarn and hide the end inside the piece, on the other, leave a long tail for sewing.
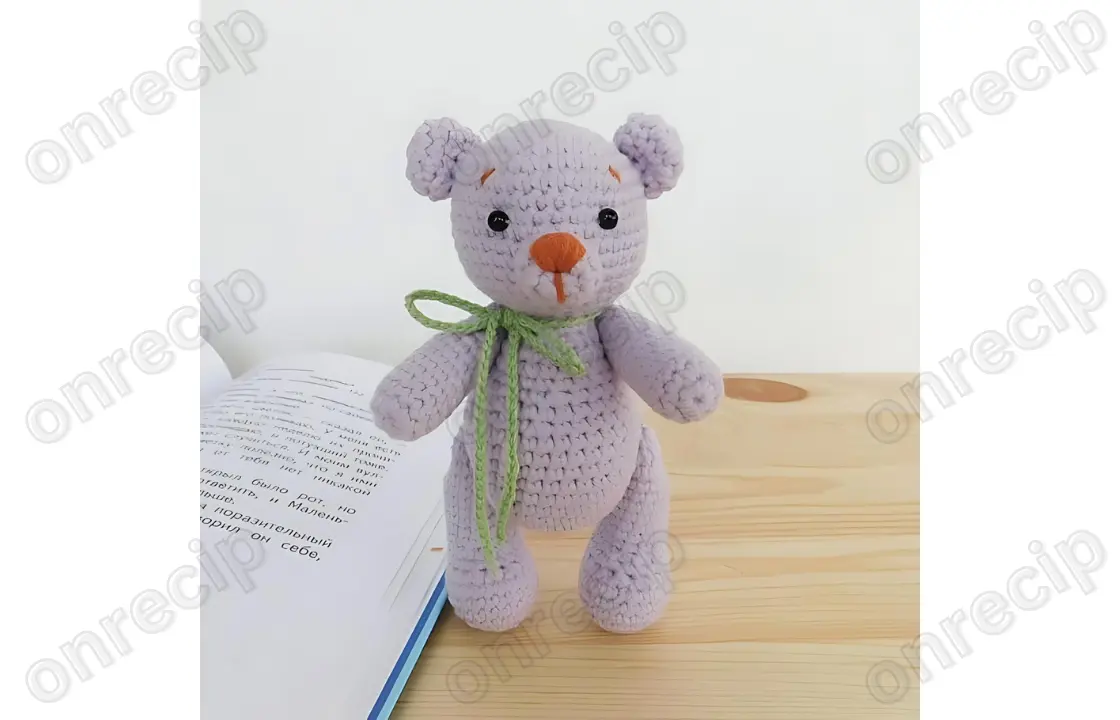
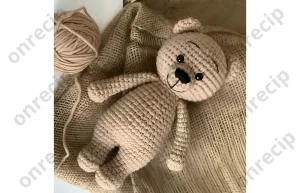
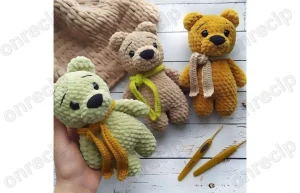
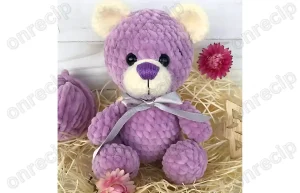
Amigurumi Bear Assembly
Sew the head to the body.
Sew the muzzle and ears at the desired distance.
Sew on the eyes.
Embroider the muzzle and eyebrows.
Attach the limbs using button joints (similar to thread joints, but bring the needle and thread to the outside of the piece and pass through the button).
Decorate the bear as desired with a bow, ribbon, scarf, etc.
Instagram: @svetlana_kids_toys
Enjoy!
Pages: 1 2