
Tail
- 6 sc in KA (6)
- 6 inc (12)
- 12 sc (12)
- (sc, dec) x 4 (8)
Stuff slightly, leave a thread for sewing.
Body
- 6 sc in KA (6)
- 6 inc (12)
- (sc, inc) x 6 (18)
- (2 sc, inc) x 6 (24)
- (3 sc, inc) x 6 (30)
- (4 sc, inc) x 6 (36)
- (5 sc, inc) x 6 (42)
- (6 sc, inc) x 6 (48)
9-10. 48 sc (48) (2 rows)
Next, we will crochet the legs.
- 17 sc, 7 sc together with the leg, 17 sc, 7 sc together with the leg (48)
- 48 sc (48)
- 10 dec, 24 sc, 2 dec (36)
This row needs to be adjusted according to your crochet. Decreases should be on the belly (between the legs), so if your row differs from mine, unravel or crochet the necessary number of stitches.
- (4 sc, dec) x 6 (30)
- 30 sc (30)
- (3 sc, dec) x 6 (24)
- 24 sc (24)
- (2 sc, dec) x 6 (18)
- 18 sc (18)
Next, we will crochet the arms. The arms should be along the legs; if necessary, adjust the row to your crochet.
- 3 sc, 6 sc with the arm, 3 sc, 6 sc with the arm (18)
Pull out the thread, cut, secure. Stuff the body tightly, paying special attention to the belly.
Ears (2 pieces)
- 6 sc in KA (6)
- (sc, inc) x 3 (9)
- (2 sc, inc) x 3 (12)
- (3 sc, inc) x 3 (15)
- (4 sc, inc) x 3 (18)
- Fold the detail in half and crochet through both walls 9 sc (9)
Leave a thread for sewing.
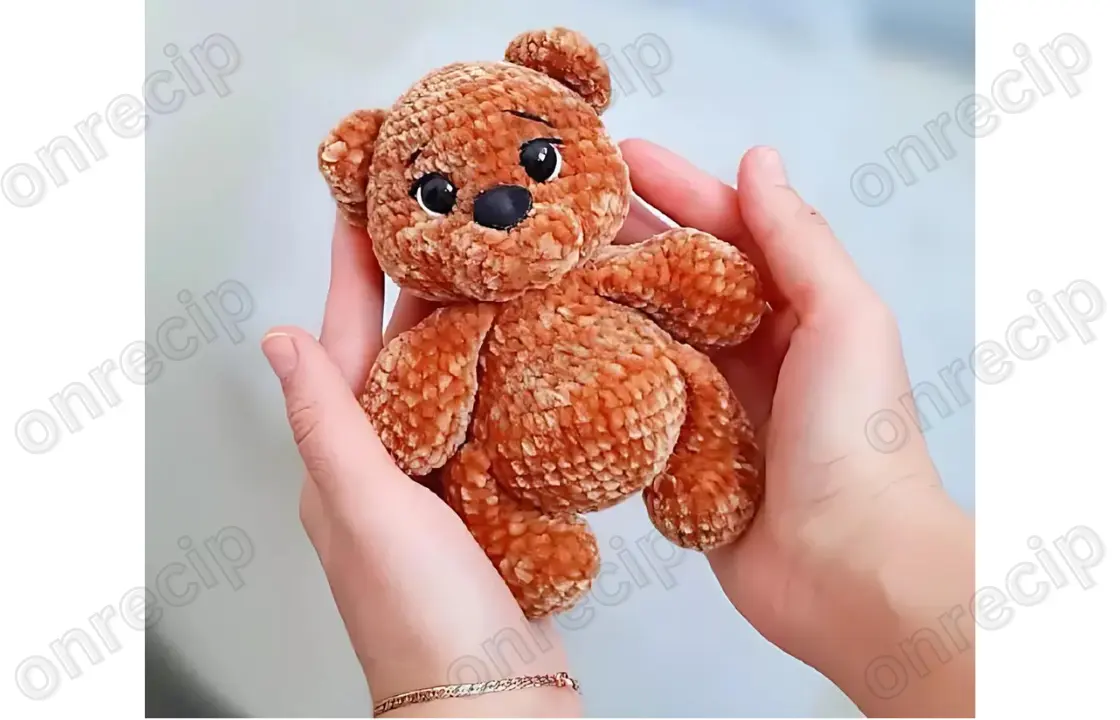
Eye tightening
Take a tailor’s needle and strong thread. Insert the needle into the 21st row (where 6 dec) row, leaving a small thread end, and bring it out from the outer side of the right eye. Then insert it from the inner side of the right eye and bring it out at the starting point in the 21st row. Pull both ends of the thread, press the eye to form the correct tightening. When you like the tightening, secure it by making a couple of knots.
Tighten the second eye. Insert the needle into the 21st row (where 6 dec) row, leaving a small thread end, and bring it out from the outer side of the left eye. Then insert it from the inner side of the left eye and bring it out at the starting point in the 21st row. Pull both ends of the thread, press the eye to form the correct tightening. When you like the tightening, secure it by making a couple of knots. Always check the symmetry of the tightenings, and only after that make knots.
Sew the muzzle directly under the eyes.
Muzzle tightening:
Insert the needle into the 21st row, bring it out in the middle at the junction of the muzzle and head, as if laying the thread, insert the needle into the 21st row, tighten and secure the thread.
Muzzle decoration:
Use white YarnArt Jeans yarn and a needle.
Embroider the white of the eye.
Use black YarnArt Jeans yarn and a needle.
Embroider the eyelids and eyebrows. The eyebrows are located 2 rows above the eyes.
Glue the nose where the muzzle tightening has formed.
The beginning of the ear is located in the 4th row, sew the ear diagonally.
Sew the head. The seam in front should be at the junction of the head and muzzle.
Sew the tail at the level of the legs in the 11th row.
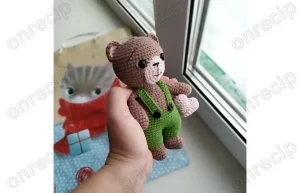
Author: Darya Koretskaya
Enjoy!
