
Skill Level: Easy
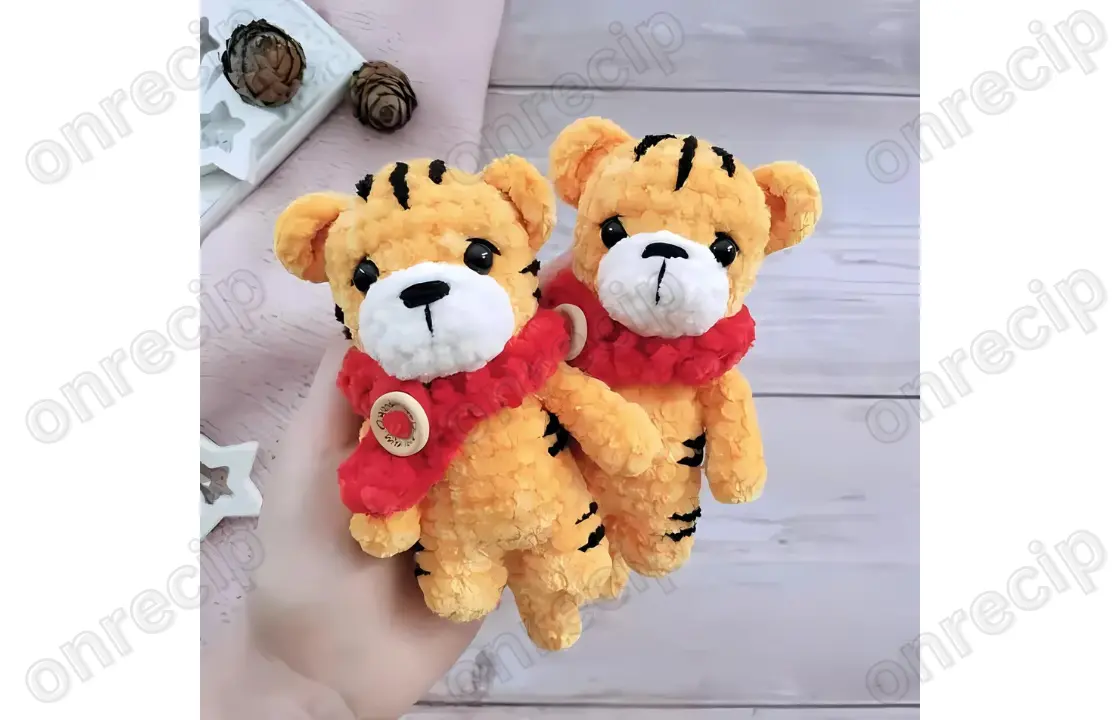
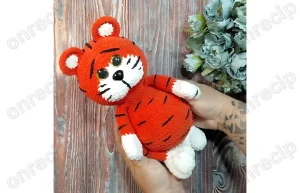
Using this description, you can crochet plush tigers with scarves. Any plush yarn will work for amigurumi: Himalaya Velvet, YarnArt Velour, Himalaya Dolphin Baby, and others.
The finished toy size is approximately 11 cm.
Materials and Tools:
- Plush yarn Himalaya Velvet: white and orange/yellow/blue (for the tiger)
- Plush yarn Himalaya Velvet: red (for the scarf)
- Yarn YarnArt Jeans (for the nose)
- Yarn Himalaya Baby Soft (for the stripes)
- Hooks 3 mm and 4 mm
- Toy eyes 6-8 mm
- Stuffing for toys
- 15 mm button
- Markers
- Sewing pins
- Needle
- Scissors
Abbreviations:
- MR — magic ring
- ch — chain
- sl st — slip stitch
- sc — single crochet
- dc — double crochet
- inc — increase
- dec — decrease
- (…) x n — repeat n times
Description for crocheting amigurumi baby tigers
The toy is crocheted in one piece, starting from the legs. Stuff as you go.
Legs (2 pieces)
Row 1: 8 MR (5)
Rows 2-3: 2 rows of 8 sc (8)
Fasten off. Crochet the second leg without fastening off. Continue crocheting the body.
Body
From the second leg, chain 2, join to the first leg.
Crochet 8 sc around the first leg, 2 sc along the ch, 8 sc around the second leg, and 2 sc along the ch (20 sc).
Place a marker at the beginning of the row, which is on the back.
Rows 1-6: 6 rows of 20 sc (20)
Row 7: (2 sc, dec) x 5 (15)
Row 8: 15 sc
Row 9: (1 sc, dec) x 5 (10)
Now move on to crocheting the head.
Head
Row 10: 10 inc (20)
Row 11: (3 sc, inc) x 5 (25)
Rows 12-16: 5 rows of 25 sc (25)
Between rows 14 and 15, insert the eyes, spaced 4-5 sc apart.
If you are using sew-on eyes, sew them at this row after finishing the crocheting.
Row 17: (3 sc, dec) x 5 (20)
Row 18: (2 sc, dec) x 5 (15)
Row 19: (1 sc, dec) x 5 (10)
Row 20: (dec) x 5 (5)
Fasten off, pull the opening closed, and hide the end inside the work.
Arms (2 pieces)
Row 1: 6 MR (6)
Rows 2-7: 6 rows of 6 sc (6)
Fold the crochet piece and crochet 3 sc across both sides to close. Leave a tail for sewing. Sew the arms to the body in row 9, spaced 4-5 sc apart.
Muzzle
Using white yarn, start with a chain of 5 ch and crochet into the second chain from the hook.
Row 1: inc, 2 sc, 4 sc in the same stitch, 2 sc, inc (12)
Row 2: 12 sc, sl st (12)
Stuff lightly if desired.
Leave a tail for sewing. Sew the muzzle onto the head. Embroider the nose with cotton thread.
Ears (2 pieces)
Chain 3, crochet into the first chain:
6 hdc, 2 ch, 1 sc, 1 sc into the third chain from the hook.
Fasten off. Leave a tail for sewing. Sew the ears onto the head.
Tail
Row 1: 6 MR (6)
Rows 2-11: 10 rows of 6 sc (6)
Fold the crochet piece and crochet together. Sew the tail onto the body.
Scarf
Chain 22 ch. Crochet into the second chain from the hook.
Crochet 1 dc into each stitch to the end of the row.
Fasten off and leave a long tail to sew on the button. Attach the button, fastening both ends of the scarf, following the photo or your preference.
Finishing and Assembly
Embroider the stripes according to your preference.
Author: Yulia Rossamakhina – @yuliaross
Enjoy!