6 row: (3 sc, inc) x 6 (30)
7-8 rows: 30 sc
9 row: (3 sc, dec) x 6 (24)
10 row: 24 sc
11 row: (2 sc, dec) x 6 (18)
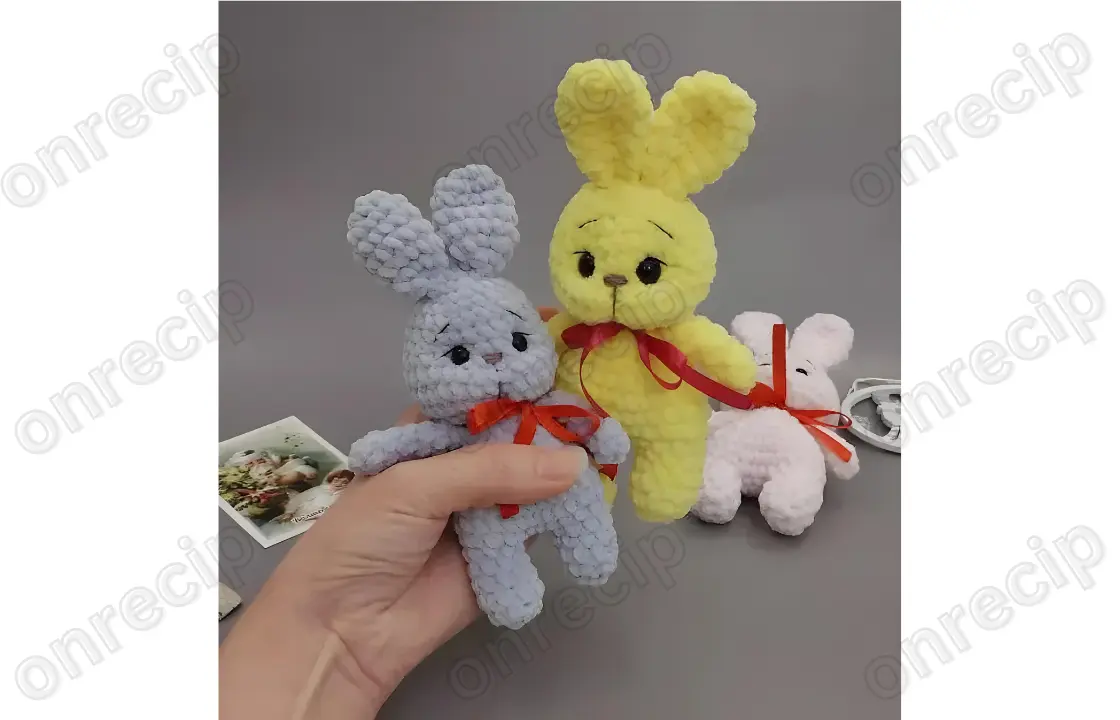
Important moment! You can adjust the height of the toy and the body.
You can crochet an additional row without decreases.
12 row: (1 sc, dec) x 6 (12)
13 row: 12 sc
14 row: 12 sc. In this row, crochet the arms. Attach the arm to the side and crochet together with the body part 3 sc, between the arms 3-4 sc.
Before this, be sure to stuff the body! And one more thing! You can crochet the arms in the 13th row, and crochet the 14th row simply 12 sc. Then there will be a small imitation of the neck.
Head:
From the next row, start crocheting the head:
15 row: 12 inc (24)
16 row: (3 sc, inc) x 6 (30)
17-19 rows: 30 sc
20 row: (3 sc, dec) x 6 (24)
21-22 rows: 24 sc
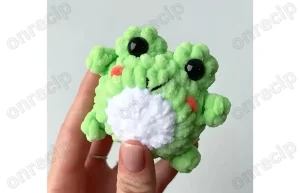
Insert the eyes approximately in the 20th row.
But be sure to try it on to your toy: make dimples under the eyes with your fingers and see where it is better to insert the eyes.
23 row: (2 sc, dec) x 6 (18)
24 row: 18 sc
25 row: (1 sc, dec) x 6 (12)
26 row: 6 dec
Ears (2 pieces):
In KA, cast on 6 sc or cast on 2 ch and crochet 6 sc in the first chain:
1 row: 6 inc (12)
2-6 rows: 12 sc
7 row: (1 sc, dec) x 3 (9)
8 row: 9 sc
Fold in half at the bottom and sew.
Tail:
In KA, cast on 6 sc or cast on 2 ch and crochet 6 sc in the first chain, 2-3 rows of 6 sc. Sew to the body. Or simply embroider with a few stitches.
Author: @fairy_for_kids
Get more free and exclusive PDF pattern here
Enjoy!

