Tail
- Round 1: КА or 2 ch, crochet 4 sc
- Round 2: 1 sc, inc (2 times) = 6 stitches
3-4. Rounds 3-4: 6 sc - Round 5: 2 sc, inc (2 times) = 8 stitches
6-8. Rounds 6-8: 8 sc - Round 9: 1 sc, inc (4 times) = 12 stitches
10-11. Rounds 10-11: 12 sc
You can sew it on.
Body
Crochet from the bottom up:
- Round 1: КА (or 2 stitches), crochet 6 sc
- Round 2: 6 inc (2 in each stitch) = 12 stitches
- Round 3: 1 sc, inc (repeat 6 times) = 18 stitches
- Round 4: 2 sc, inc (repeat 6 times) = 24 stitches
5-9. Rounds 5-9: 24 sc in a circle
At this point (if we attach the legs with screws) attach the legs to the body.
From Round 10, we go in the opposite direction (this is necessary so that in future masterclasses on baby toys, we can attach the legs on cotter pins, but not now).
So!
- Round 10: turn the work, 1 ch, #2 sc, dec# (repeat from # to # 6 times), 1 sc (crochet additionally for an even edge) = 19 stitches
- Round 11: turn, 1 ch, 19 sc
- Round 12: turn, 1 ch, #1 sc, dec# (repeat from # to # 6 times), 1 sc = 13 stitches
13-14. Rounds 13-14: 1 ch, 13 sc - Round 15: dec (6 times), 1 sc = 7 stitches
Tighten with a needle, sew the top a little, leave a thread 25-30 cm long.
Next, attach the upper legs and head on a double cotter pin.
For those who struggle with screws-cotter pins, you can simply sew the legs and head. In this case, the kitten will be less mobile but no less beloved and dear!
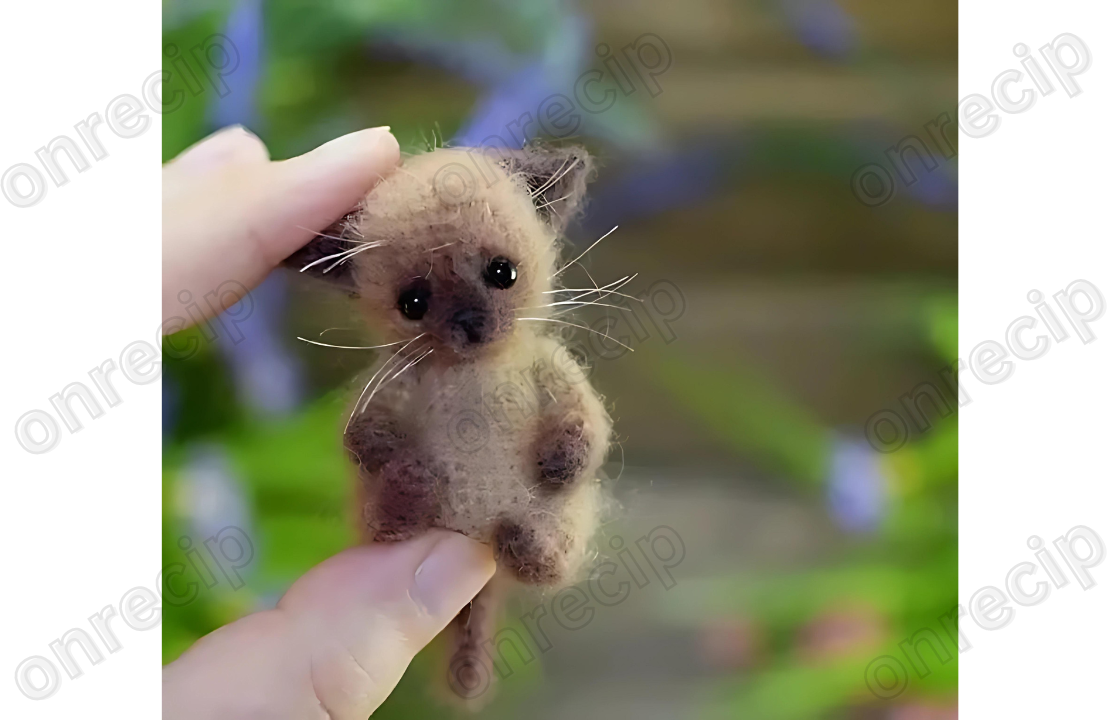
Your crocheted kitten is ready! Please mention the author on social media – Irina Chernyavskaya.
Enjoy!
Pages: 1 2

