Using needle and pink yarn attachhead and legs together to the pink african flower. This is how I placed my head/legs.
“BODY/SQUARES” (make 2)
This is going to be “the stuffing” of the turtle, and only the edge will be visible when you’re done with your turtle.
Normally I like to spread increases when making a circle, but for this it’s ok – even preferable to increase in the beginning of each round as it will resemble more of a hexagon shape.
1. sc 6 in MR (6)
2. incx6 (12)
3. (inc, sc)x6 (18)
4. (inc, sc2)x6 (24)
5. (inc, sc3)x6 (30)
6. (inc, sc4)x6 (36)
7. (inc, sc5)x6 (42)
8. (inc, sc6)x6 (48)
9. (inc, sc7)x6 (54)
10. (inc, sc8)x6 (60)
11. (inc, sc9)x6 (66)
It looks more like a hexagon when you increase at same site every round
Remember to fill before you complete the round.
When you have completed the round (and remembered to fill before you closed) crochet another round sc in every st.
Place the body over the bottom and crochet together
Attach body to bottom
Hook through both blue and pink st as seen below. Yo, pull through. Sc through only blue loops above head/legs.
Attach body to bottom
Body is now attachet to the bottom.
Do not cut thread yet. Through back loops only (blue st) crochet “2ch, sc” in every st. Now fasten off, and weave in.
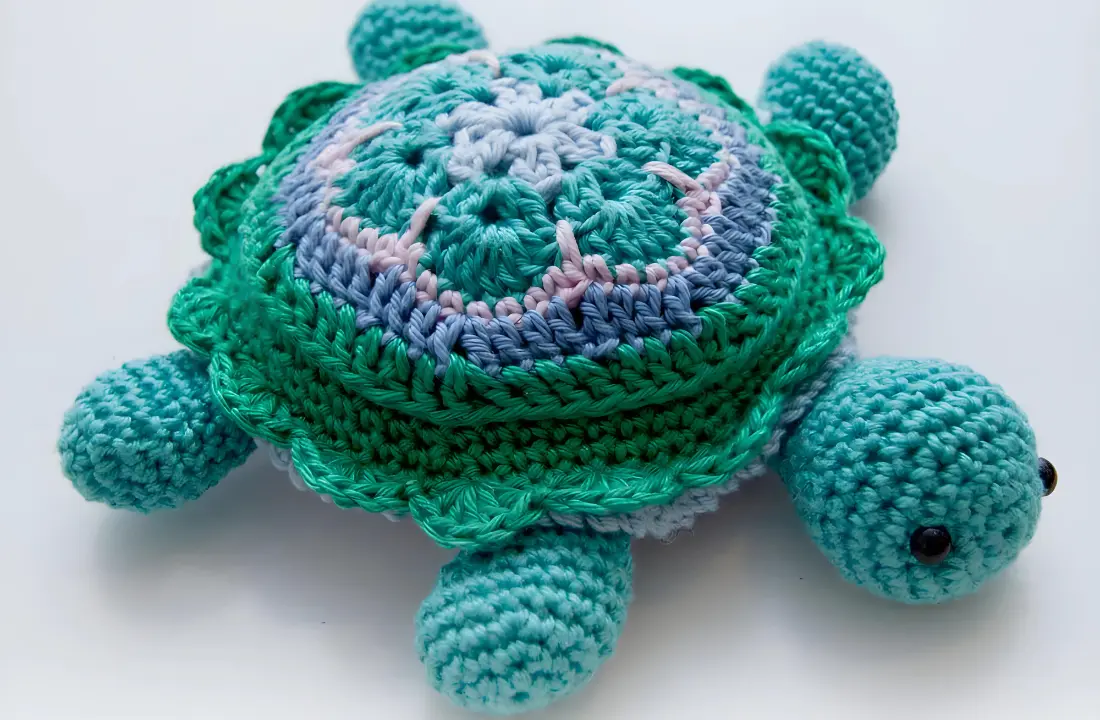
Now we’re going to make the shell.
Hook through bottom of dc on back side of flower
Pick up the multicolored flower you made earlier. Turn the flower. Hook through bottom of the last round of dc. Using same color (in my case – green) attach thread with a sl st, then sc all the way around. Do this until you’ve made 4 rounds of sc. The next (5th) round increase corresponding to every hexagon angel (a total of 6).
Completed one round of sc
Now we’re going to attach the shell to the rest of the turtle. Put the shell on top of the turtle bottom/body. Hook through both loops last round of shell and through front loops of body (blue) and sc all the way around.
How to attach
Finally add the shell edge; 5dc in 2nd ch from hook, skip 1 st, sl st in next, skip 1 st, 5dc in next, skip 1 st, sl st … and continue in the same pattern all the way. You may have to do some minor adjustments (skip 2 st at some point) because the numbers probably don’t add up 100%, but there shouldn’t be any major trouble. Weave in all loose ends and you’re done!


